Michelangelo REanimator
The demo code and slides are also available in the Michelangelo REanimator GitHub repo.
This is the project write-up/repo for the Michelangelo REanimator bootkit – this season’s hot+fresh new legacy BIOS bootkit
[a new take on the classic Michelangelo bootkit of the 1990s, itself a variation of the Stoned bootkit.]
and the associated materials for my REcon 2023 talk.
Talk slides are in the REcon2023Slides folder, obviously.
This project and its associated repo are both a work in progress, so please bear with me while I continue to organize and document the various pieces.
Initial notes on bootkit debugging are below.
They will be moved elsewhere at some point to a coherent singular document summarizing my bootkit dev and debugging methodology.
For now, enjoy the chaos and if you have questions/comments/concerns/lots of emo feelings that are stirred up by the beauty that is 16bit x86 asm (honey believe me, I know the feeling!), then feel free to hit me up on one of the myriad internet forums I frequent.
If you found this repo, you know where to find me.
xoxo
ic3qu33n
Michelangelo REanimator
Bootkit Technical Specs

In many bootkits that target MBRs, there will be a routine in the virus for copying the partition table
of the original MBR to offset 0x1BE in the viral MBR. This ensures that the viral MBR is still a valid MBR, with correct magic bytes/placement of data structures at specified offsets.
This payload skips this step to save a few bytes and leans on the fact that a standard partition table is created when installing FreeDOS 1.3 onto a virtual hard drive image. So, payload_part1 already contains a copy of the partition table. Saving a copy of this standard FreeDOS partition table in the viral MBR ensures that it meets the proper checks. The viral MBR does, of course, jump back to the original MBR, which provides the saved copy of whatever partition table it originally contained and its routines for loading the OS. It’s almost like nothing ever happened…
The payload is split into two parts because I wanted to use a graphical payload that has a size of 10,240 bytes. The MBR is limited to the sector size of 512 bytes, but an MBR’s code can very well include a routine for loading a second stage bootloader from disk (of greater size,
limited by the number of free sectors on disk and the amount of available memory in RAM;) into RAM.
A second stage bootloader will proceed to do its thing, provided that the following holds:
- There is adequate space in RAM for the loaded sectors of the viral second stage loader to be mapped to
- The memory range where the second stage bootloader is mapped does not overlap any critical regions in memory (i.e. the IVT in the first
0x400bytes, the BIOS Data Area in0x5000-0x6000, etc.)
- Trivially, that the first stage bootloader implements a proper routine to load, and jump to, the second stage bootloader in memory.
So that’s what this payload does:
- It sets up the necessary stack frame for an MBR/boot sector
- It loads the second stage bootloader from disk; the second stage bootloader is 21 sectors, and of these 10,752 bytes, only the first 512 byte sector contains code. The remaining bytes are occupied by the graphics payload image (the art == 10240 bytes)
After loading those 21 sectors, the first stage loader copies them to a designated region in RAM (at address 0x90000, or 0x900:0000) and jumps to it
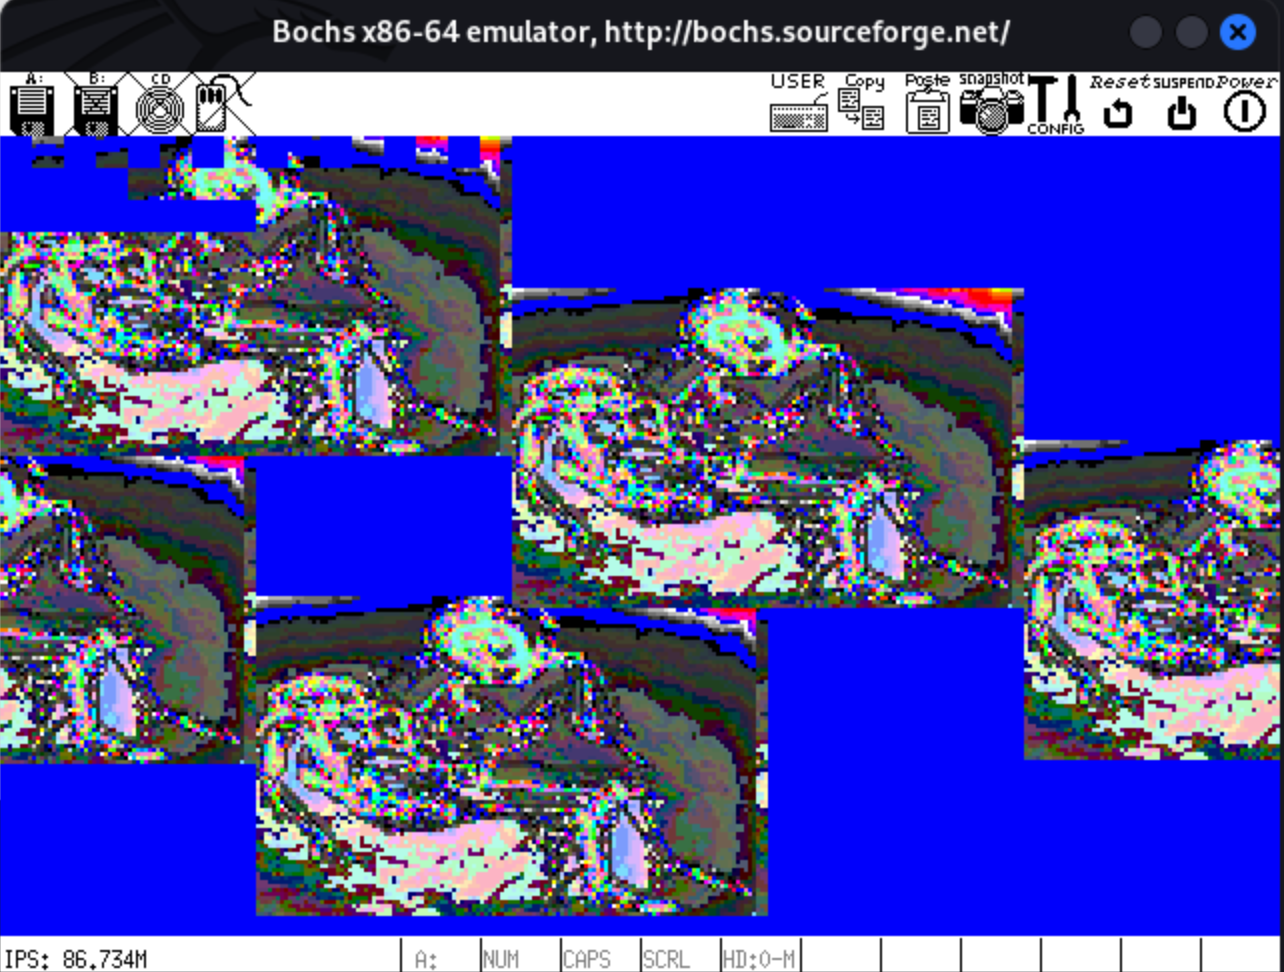
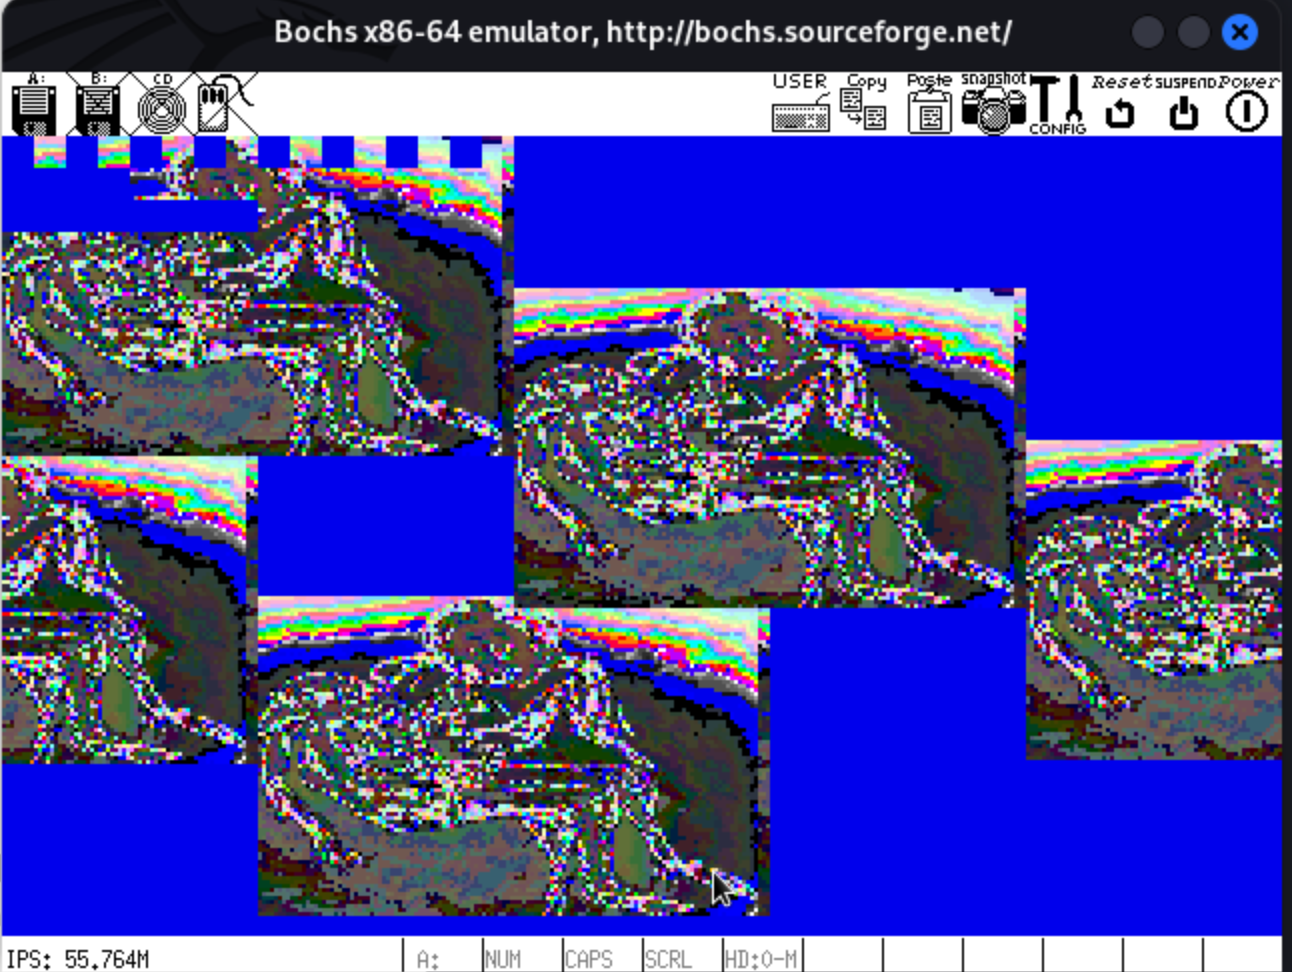
The second stage of the payload then displays one of my drawings.
To make the graphical payload, I scanned a pen+ink drawing of my study of the “Pieta” sculpture by Michelangelo. I then wrote a Python script to downsample the image into a resolution of (320//factor)*(200//factor)*diff_factor with factors of 10 and 4. This results in a 128x80 pixel image for VGA mode 13h (320x200x256).
I then converted the sequence to bytes and appended it to the second stage payload
The second stage payload then uses various routines to load the bytes of the image, perform various bitwise operations on the bytes to modify the pixel values of the sprite on each iteration of the animation sequence (and, in some cases, the polymorphism modifies the sprite after each frame) for the graphical payload rendering
The second stage payload implements a custome palette, using polymorphism to change this palette on each iteration
The code for the palette routine was based heavily on that of two palettes by Rrrola
;******************************************************************************
; Palette routine in this bootkit was adapted from the following 2 palettes:
; "Symetrie" and "Atraktor" by Rrrola
; https://abaddon.hu/256b/colors.html
; Their palettes are gorgeous. Go check them out.
;******************************************************************************
The second stage payload also uses polymorphism to ensure that the graphical payload mutates slightly on each iteration, another instance of polymorphism to decrypt itself at boot after each power cycle, and it loads the original MBR from the 3rd sector on disk (where it had been saved during viral infection) before mapping it to memory at 0x7c00 and jumping to it
More notes on other features of this bootkit to follow in the coming weeks/months.
Here are some demo videos of the bootkit after it has infected a target disk.
Photosensitivity Warning: Mild flashing lights warning on both videos.
**** Artist Statement ***
This project is both a reverse engineering project and part of a body of work in my artistic practice. For additional details on the art process, you can check out the artist statement
To view a gallery of some choice selections of my favorite output images from the bootkit, check out the Michelangelo REanimator gallery
**** Bootkit Debugging ***#
For debugging x86 bootkits on an aarch64 machine refer to the various techniques outlined below
For debugging setups on other machines (i.e. testing on a machine with an x86 processor), refer to the Resources section
In one terminal window (I recommend running these two commands in separate terminal windows and not a single window running a terminal multiplexer, due to how gdb is already going to be using a split layout in one window).
gdb-multiarch -q --nh -ex 'set architecture i8086' -ex 'file dos_rip.img' -ex 'target remote localhost:1234' -ex 'layout split' -ex 'layout regs'
In another terminal window (again I’m recommending to run these in two different windows and not a split paneled tmux session, but far be it from me to tell you how to live your life. If you like that Mondrian kd-tree-style layout of a terminal window with nested bifurcations, then by all means, live ur truth bb.)
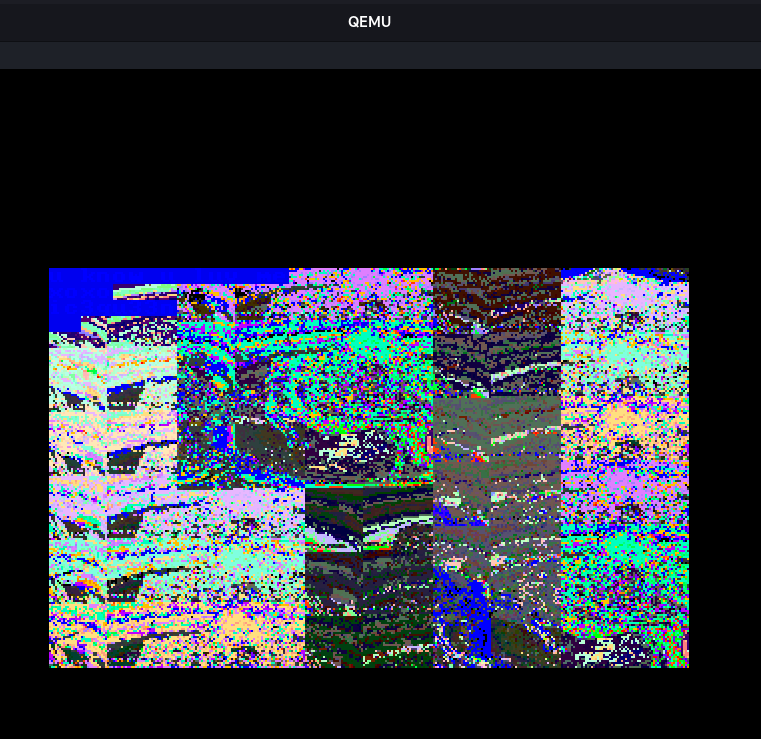
qemu-system-i386 -m 16 -k en-us -rtc base=localtime -device cirrus-vga -display gtk -hda dos_rip.img -s -S
How to test locally
Viewer Discretion is advised
I am not responsible for any damage that you do to your machine by running this.
For running this bootkit on a test target disk, use the Python script located in this repo, named infect_mbr_reanimator.py
This script does some of the heavy lifting that is normally handled by the TSR infection routines when the virus is first executed.
You can use this Python script to infect a disk and then use the above guide for debugging with GDB.
You can also debug with Bochs which is, in all honesty, the better option.
My notes on this process are covered in Bootkit debugging with Bochs.
As a supplementary resource, you can refer to this document to get started debugging with Bochs: COS 318: Guide for running Bochs a handy guide from Princeton’s CS Department. ty, Princeton CS
The command for infecting a test target disk with the Python script will infect a disk such that the following results:
- The viral MBR is placed into the first sector of the disk (Cylinder 0, Head 0, Sector 1); note, this is the first stage bootloader
The viral MBR is also encrypted with a really simple XOR encryption routine and then written to disk (the viral MBR has an equivalent decryption routine which will decrypt the copy of itself loaded from disk during each boot).
- The original MBR is placed into the third sector of the disk (Cylinder 0, Head 0, Sector 3)
- The second stage bootloader is loaded into sectors 13-34 of the disk (Cylinder 0, Head 0, Sector 13)-(Cylinder 0, Head 0, Sector 34)
Note that the convention that I used in this Python script uses a 0-indexed sector count, which is not how sectors are indexed normally
(sectors are 1-indexed; the first sector is sector 1. However, both cylinders/tracks and heads/sides use 0-indexing.
Don’t ask me to explain this discrepancy. It confounds me as well.)
The important thing to note is that when you pass parameters to the Python script, denoting the starting offset, remember that the starting sector offset is 0-indexed (so subtract 1 from your actual target sector; i.e. if you want to save the second stage bootloader to sectors 13-34, then you’re going to pass 12 to the command line arg -vxpaintsector.)
If none of that makes sense, then just use this command to run the script and don’t ask any more questions.
python3 infect_mbr_reanimator.py \
 -mbr michelange1ststage.mbr \
 -vxpaint michelange2ndstage.bin \
 -ogmbr michelange_parttable_test_0 \
 -diskimg dos_rip.img \
 -sector 0 \
 -ogmbrsector 2 \
 -vxpaintsector 12 \
k luv u so much
xoxo
ic3qu33n